
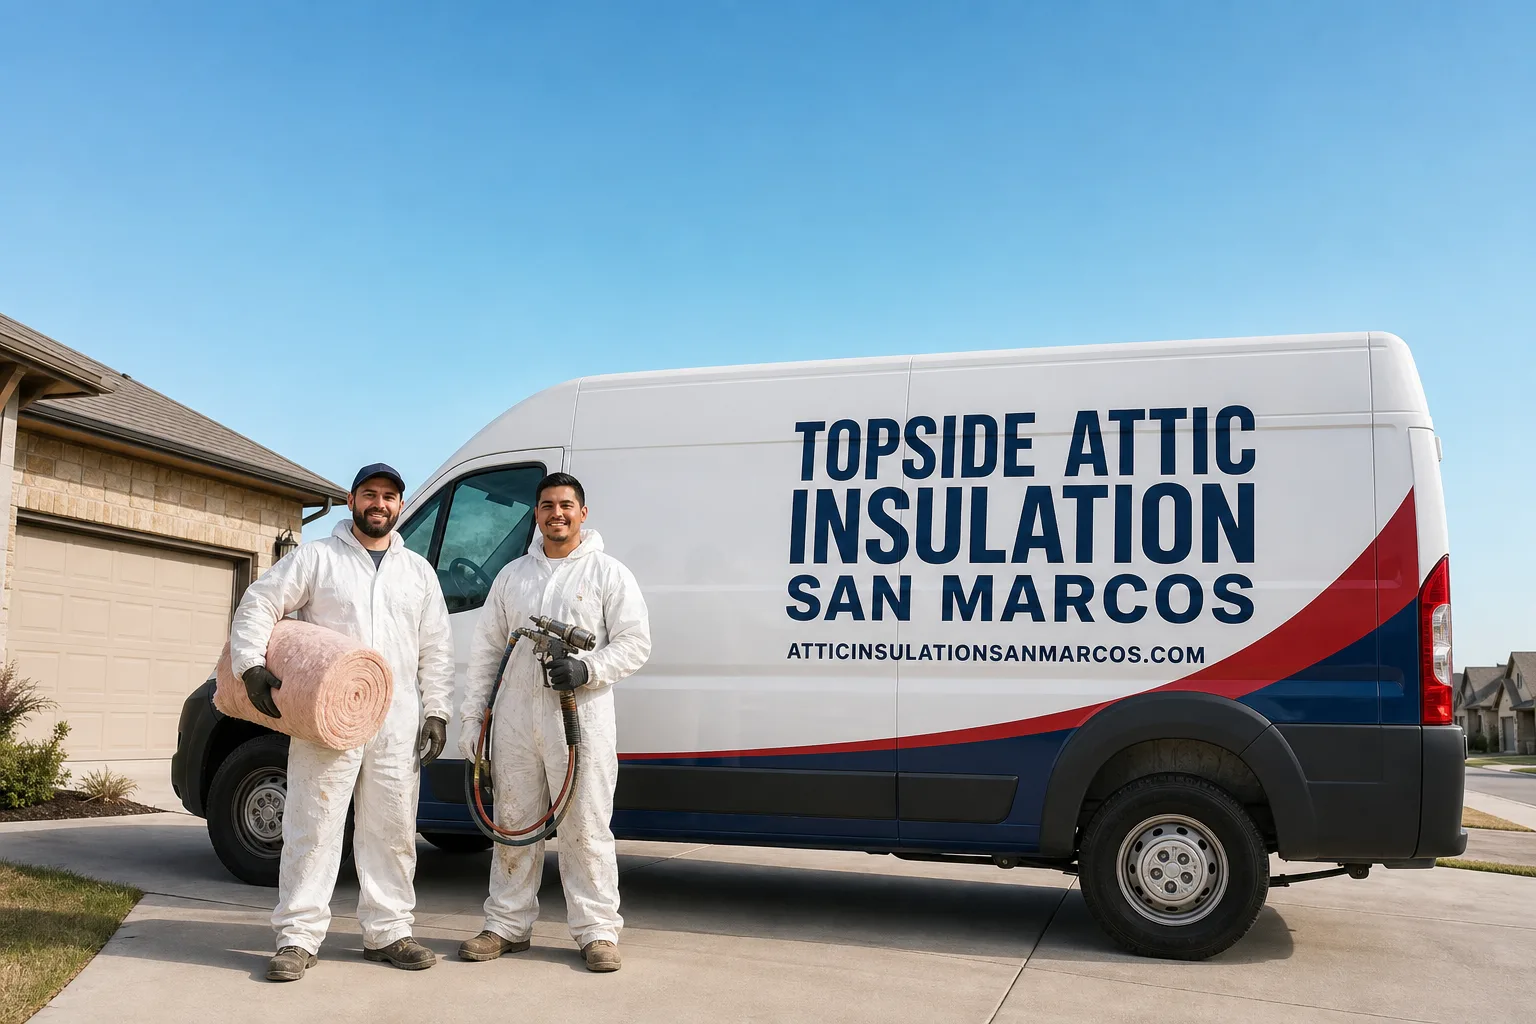
Trusted Radiant Barrier Installation for San Marcos Homeowners
If you’re wondering how much Radiant Barrier Installation costs in San Marcos, expect $1,200-$3,800 for a standard single-story attic and reduces attic temperatures by 20-35 degrees during peak summer months. Most homes in the San Marcos area see payback on the investment within 4-7 years through lower cooling loads. We’re Topside Attic Insulation San Marcos, and we’ve been sealing and insulating homes across Hays County since 2016 - every job starting with a written price and ending with a documented photo record. Our crews are background-checked, uniformed, and available for same-day assessments when you call (737) 337-8049. A live person answers that line 24 hours a day.
San Marcos sits in the Texas Hill Country where summer attic temperatures regularly climb past 140°F. That heat doesn’t stay in the attic. It radiates through ductwork, penetrates ceiling drywall, and forces your HVAC system to run longer cycles. A radiant barrier works differently than insulation - it reflects radiant heat rather than slowing conductive heat flow. In our climate, that distinction matters. We’ve measured attic temperature drops of 28°F after San Marcos Radiant Barrier Installation with Knauf or Johns Manville products in homes near Wonder World Drive and along the Blanco River corridor. Those aren’t laboratory numbers. They’re blower-door-accompanied field measurements from jobs we completed in San Marcos.
What Our Radiant Barrier Installation Service Includes
Attic Radiant Barrier
An attic radiant barrier is a reflective material, typically aluminum-coated polyethylene or reinforced foil, installed across the attic floor or against the roof deck to reflect radiant heat back toward its source. In San Marcos, we install attic radiant barriers in homes where the attic is used primarily for storage rather than conditioned living space, since floor-mounted barriers need to remain clean and unobstructed to maintain reflectivity. Our crew at Topside Attic Insulation San Marcos measures each attic bay individually, cuts barriers to fit around top plates and electrical penetrations, and tapes seams with aluminum-backed tape rated for 180°F continuous exposure. We document every cut and seam in your photo record.
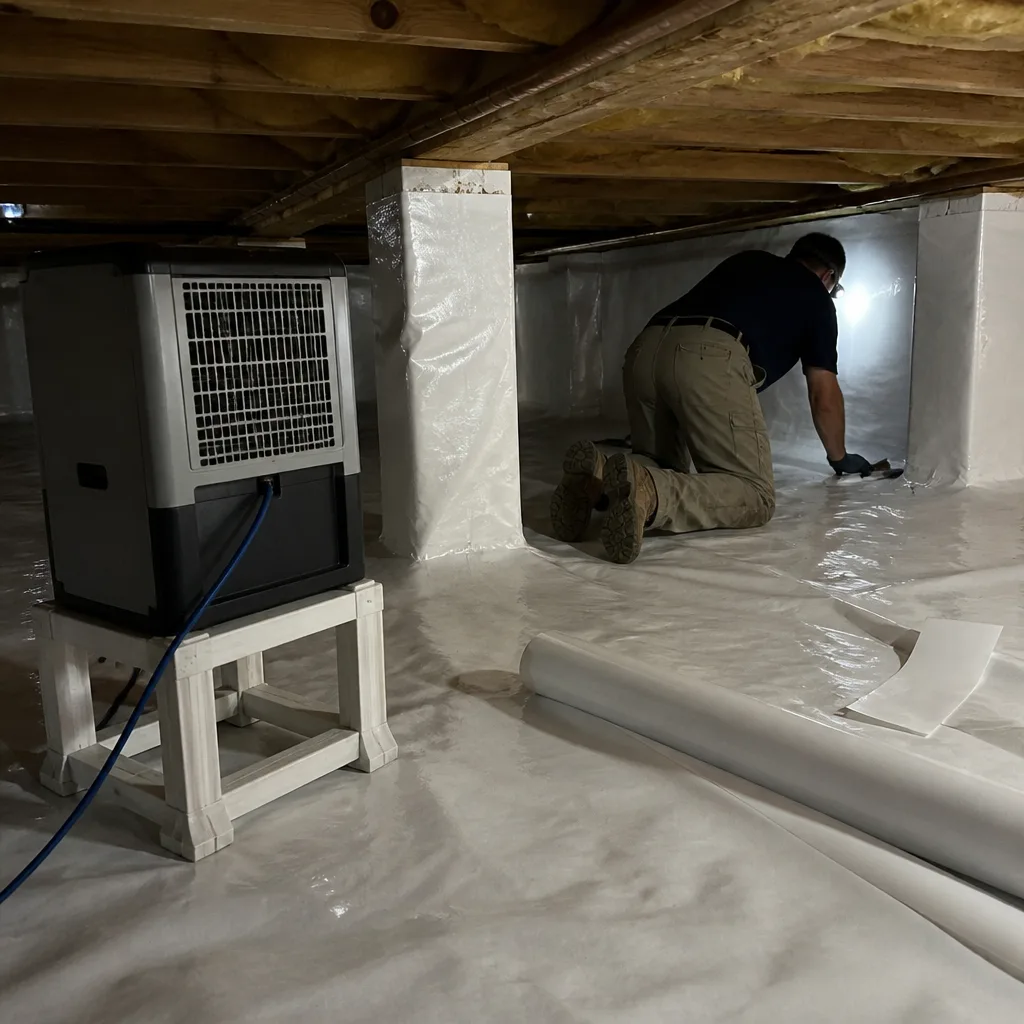
Radiant Barrier Foil
Radiant barrier foil is the specific product category - thin, flexible, highly reflective sheets that block 95% or more of radiant heat transfer when installed with proper air gaps on at least one side. We specify CertainTeed or Knauf foil products for San Marcos installations because both manufacturers rate their products for the humidity cycling we see between Hill Country dry spells and sudden thunderstorm events. Our crews install radiant barrier foil with a minimum ¾-inch air gap above the barrier when mounted to roof decking, or below it when stapled to attic rafters. We never install foil directly against roof decking without that gap - it becomes a conductor, not a reflector, and we’ve torn out too many failed DIY installations near the San Marcos Outlet Malls to make that mistake.
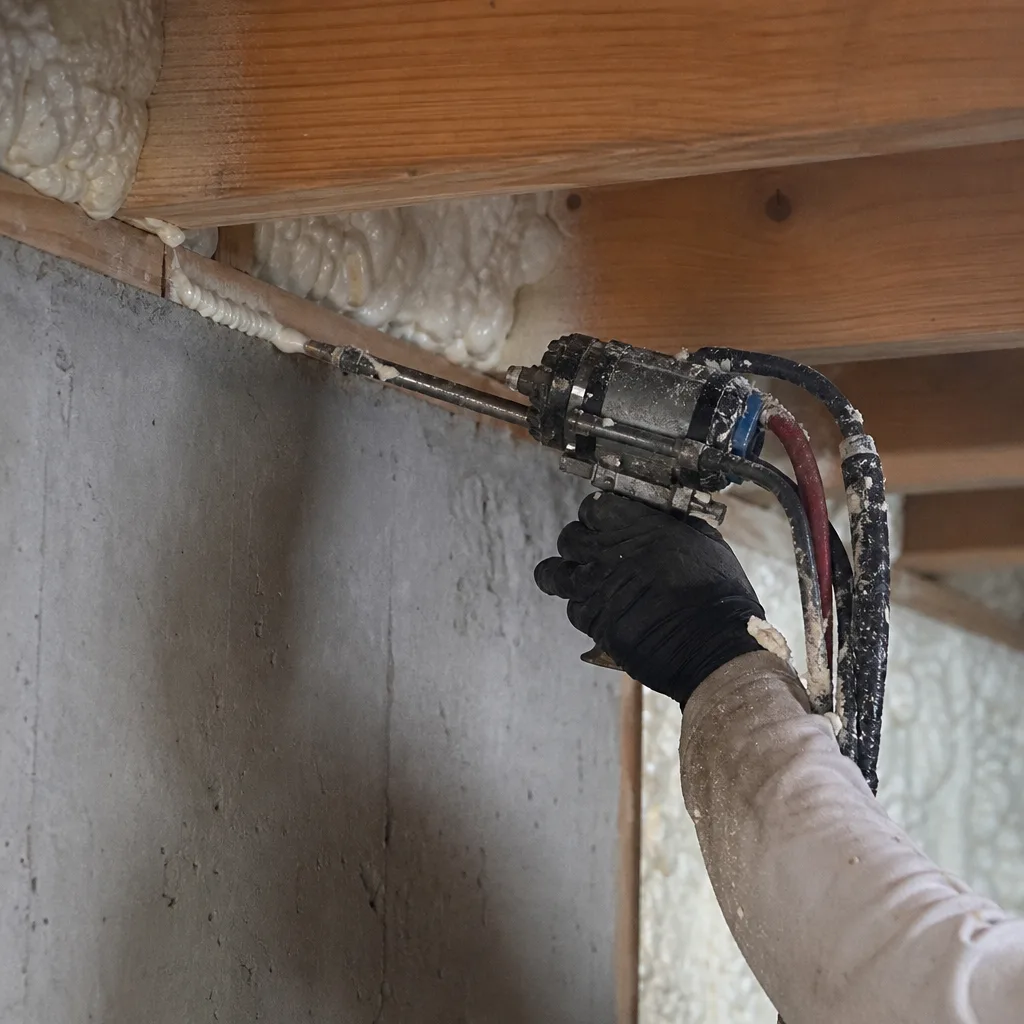
Radiant Barrier Roof Deck
A radiant barrier roof deck application attaches the reflective material directly to the underside of the roof sheathing, either during new construction or as a retrofit in existing homes with adequate attic access. This configuration works best in San Marcos homes with complex rooflines where attic floor installation would require excessive cutting around hips, valleys, and dormers. We use Rockwool-compatible radiant barrier assemblies in roof deck applications where we’re also upgrading insulation, since Rockwool’s fire-resistant properties complement the barrier’s heat-reflecting function. Our roof deck installations include verification that existing soffit vents remain unobstructed - a detail we’ve found neglected in roughly 30% of San Marcos attics we assess, particularly in 1990s-era subdivisions between I-35 and Highway 123.
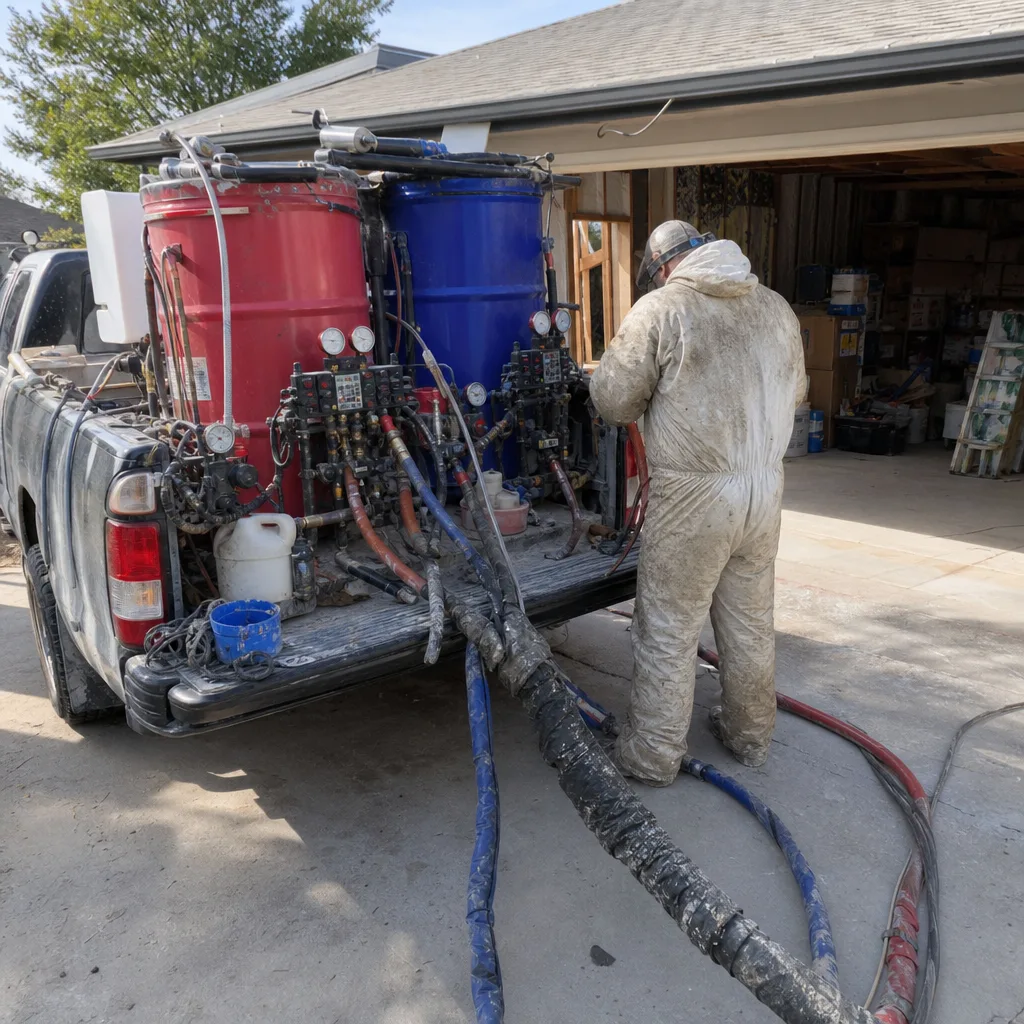
Radiant Barrier & Ventilation
Radiant barrier performance depends entirely on adequate attic ventilation - without it, reflected heat simply builds up in the attic space rather than exhausting to the outside. Our combined radiant barrier and ventilation service pairs barrier installation with airflow analysis using a flow hood to measure actual exhaust at each vent, not just vent count. In San Marcos homes near the Texas State University campus, we’ve found that original ridge vents installed in the 1970s and 1980s are often blocked by paint, debris, or improper shingle installation. We clear or replace these before installing barrier material. The result is a system: barrier reflects heat downward, ventilation carries it outward. Your photo record includes before-and-after flow hood readings.
What happens when you call
- 1
A real person answersNo phone trees - you reach a local pro.
- 2
You get an upfront price rangeHonest numbers before anyone is dispatched.
- 3
A background-checked tech heads outLicensed & insured, dispatched right away.
- 4
You approve before work beginsNothing starts until you say go.
Brands We Service for Radiant Barrier Installation
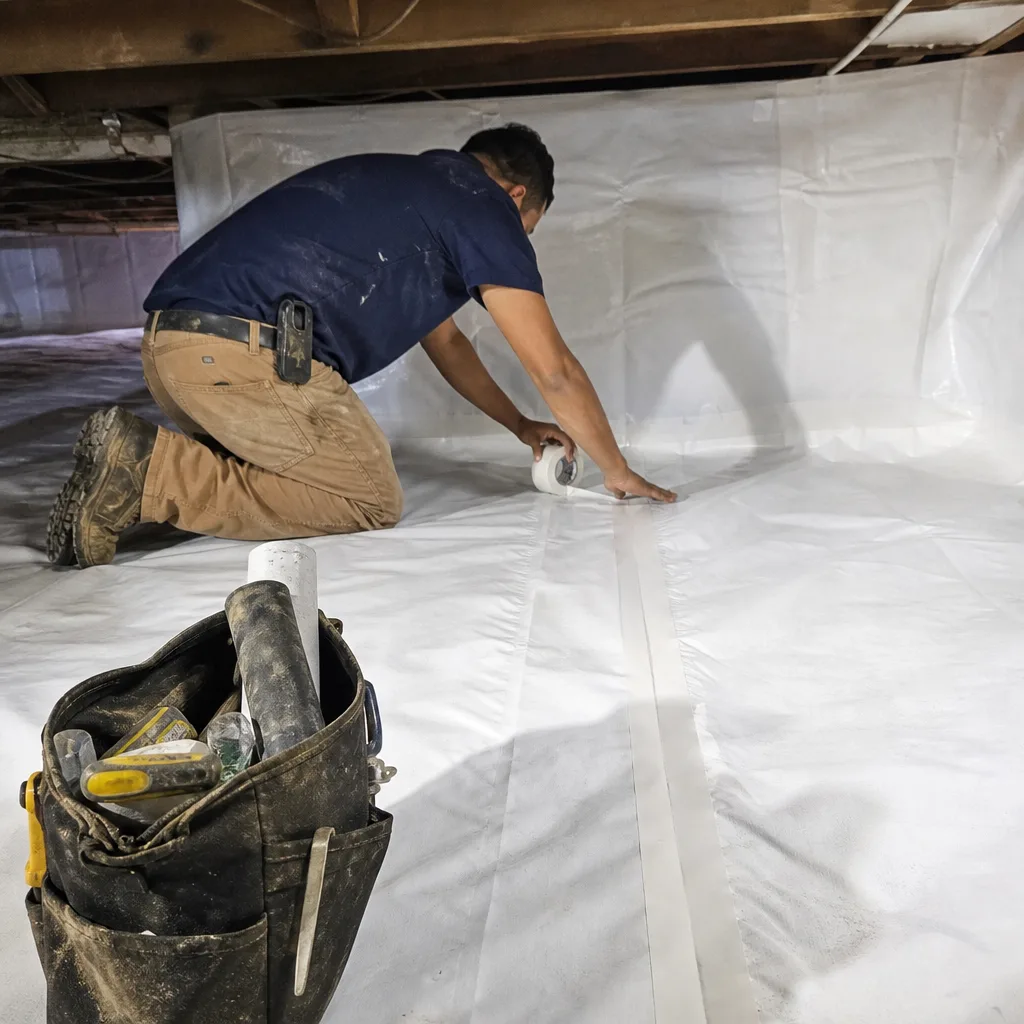
We install radiant barrier products from Johns Manville, Knauf, Rockwool, and CertainTeed - brands we’ve worked with since 2016 and source through regional distributors in Austin and San Antonio. Our crews are trained on each manufacturer’s fastening patterns, seam-taping requirements, and warranty conditions. For Johns Manville radiant barriers, we follow their specified overlap dimensions exactly because their warranty requires 2-inch minimum overlaps on horizontal runs. We’ve installed Knauf reflective insulation in more than 200 San Marcos-area attics and stock their ECOSEAL-compatible tape for jobs where we’re combining radiant barrier with air sealing. Rockwool’s stone wool batt and radiant barrier composite products require different handling than foil-only installations - the material is heavier, doesn’t tear, and needs mechanical fastening rather than staples alone.
Whether your home currently has Johns Manville, Knauf, Rockwool, CertainTeed, or any other radiant barrier product, we can assess its condition, repair damaged sections, or complete a full replacement. We don’t manufacture proprietary products and we’re not locked into any single brand. That means our recommendation is based on your attic’s specific conditions - roof pitch, existing insulation depth, ventilation configuration, and how you use the space - not on inventory we need to move. Bring us a competing quote and we’ll review it with you at no charge under our Free Second Opinion policy.
 Before
 After
AfterSigns You Need Radiant Barrier Installation Right Now
- Your upstairs rooms stay 8-15 degrees hotter than downstairs even with the AC running. This temperature stratification indicates radiant heat gain through the ceiling plane, particularly common in San Marcos homes with dark asphalt shingle roofs and minimal attic ventilation. The HVAC system is fighting a thermal battle it can’t win with air temperature alone.
- Your cooling costs spike in July and August despite thermostat settings that haven’t changed. We’ve reviewed utility bills with homeowners in the Willow Creek and Blanco Vista neighborhoods where summer electricity usage jumped 40-60% year-over-year. In most cases, the attic was absorbing and reradiating heat faster than the insulation could slow it down.
- Your ductwork runs through an unconditioned attic and the supply air feels warm at distant registers. Flexible duct in a 140°F attic gains 5-10 degrees before the air reaches your bedroom. Radiant barrier reduces the attic’s radiant temperature, which protects ductwork and improves delivered air temperature without replacing the ducts themselves.
- Your existing radiant barrier is dusty, torn, or has fallen in sections. Foil that has lost its reflectivity or air gap becomes ineffective. We find this frequently in San Marcos attics where homeowners installed DIY radiant barrier five to ten years ago and never verified its condition. A fallen barrier can also block soffit vents and create moisture problems.
- You’re planning attic insulation upgrades and want to address heat gain, not just heat flow. Standard insulation slows conductive heat transfer but does little against radiant heat. In San Marcos’s solar climate, adding R-value without addressing radiant transfer is like wearing a thick sweater in the sun - it helps, but it’s not the right tool for the primary load.
Our Radiant Barrier Installation Process - Step by Step
- 1
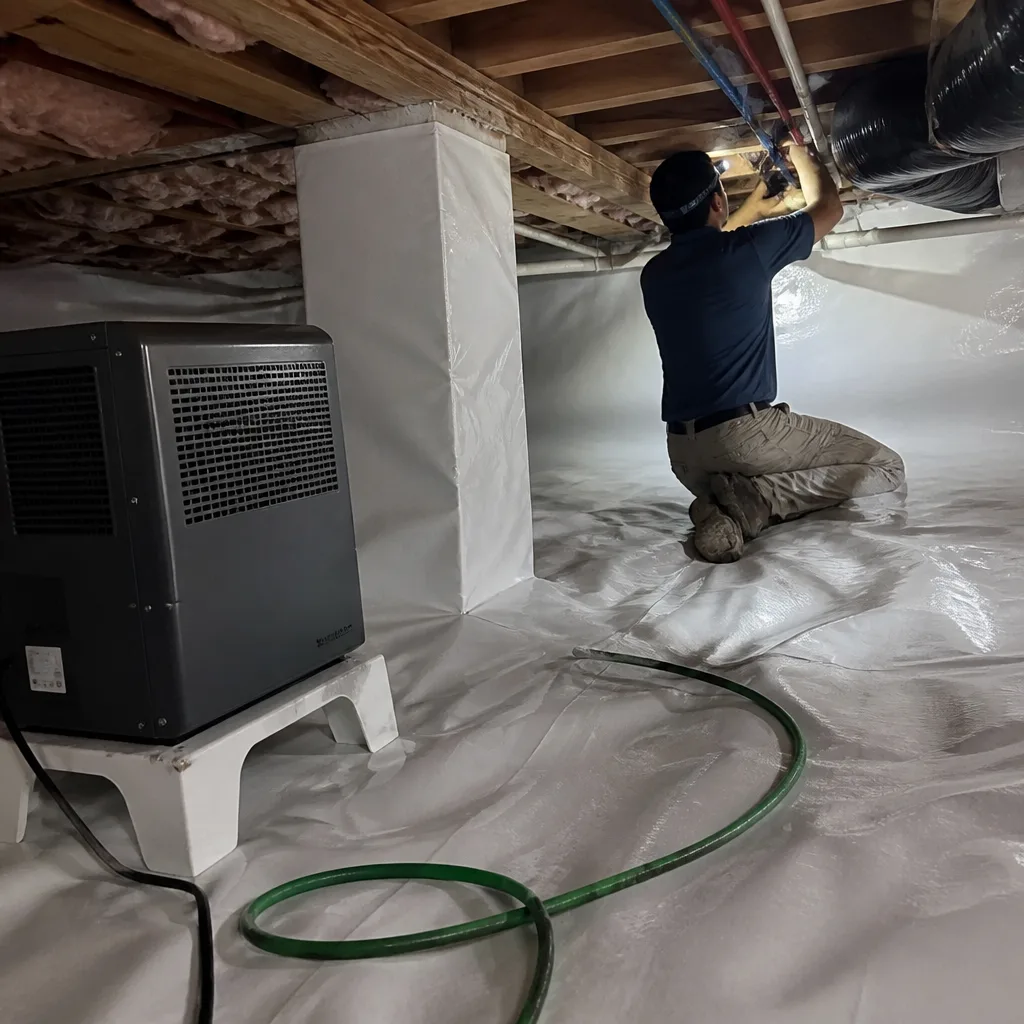
Attic assessment and written price. We start every San Marcos radiant barrier job with a full attic inspection - measuring square footage, photographing existing conditions, testing ventilation flow, and identifying air leaks that should be sealed before any reflective material goes in. You receive a written price with a detailed scope before we schedule work. No exceptions. This is Haven Standard Clause 1.
- 2
Air sealing of top plates, penetrations, and can lights. We seal first, then install barrier material. Our crew uses acrylic-latex caulk on top plate gaps, fire-rated foam around electrical penetrations, and pre-formed covers over recessed can lights. Every sealed location is photographed for your documented record. In San Marcos homes built between 1985 and 2005, we typically find 15-30 significant air leaks per 1,000 square feet of attic floor.
- 3
Radiant barrier material selection and layout planning. Based on your attic’s configuration, we select the appropriate product - foil-only for simple gable roofs with good access, reinforced composites for walkable storage areas, or roof-deck-mounted material for complex geometries. We mark cut lines before entering the attic to minimize time spent in the heat and reduce disruption.
- 4
Installation with verified air gaps and proper fastening. Our technicians install barrier material with manufacturer-specified fasteners and tape, maintaining required air gaps and overlap dimensions. We use laser levels to ensure horizontal runs are straight and measuring tapes to verify gap dimensions at multiple points. This is where most DIY installations fail - inconsistent gaps, inadequate overlaps, and compression against decking.
- 5
Post-installation verification and documentation. We photograph completed work from multiple angles, retest ventilation flow to confirm no blockages, and on jobs that include air sealing, run a blower-door test to quantify the envelope improvement. You receive a written completion summary, your photo record, and any applicable blower-door numbers before our crew leaves. The 365-Day Done Right Promise covers all work.
How Much Does Radiant Barrier Installation Cost in San Marcos?
A typical attic radiant barrier installation in San Marcos runs $1,200-$2,400 for a home under 2,000 square feet with straightforward attic access and standard gable or hip roof geometry. Roof deck applications in the same size range typically cost $1,800-$3,200 because of the additional labor required for overhead fastening in constrained spaces. Combined radiant barrier and ventilation upgrades - adding ridge vents, replacing blocked soffit vents, or installing powered exhaust - range from $2,400-$3,800 depending on the existing roof vent configuration.
Several factors move these numbers. Attic accessibility is the biggest: homes with scuttle openings smaller than 22 by 30 inches require temporary enlargement or alternative access methods. Roof pitch above 8/12 increases labor time and safety requirements. Existing insulation that must be removed or worked around adds time. And homes in older San Marcos neighborhoods like the historic district near downtown, or nearby Lockhart Radiant Barrier Installation areas, often have knob-and-tube wiring or other conditions that require coordination with electrical contractors before we can proceed.
To avoid overpaying, get a written scope that specifies material brand, fastening method, air gap dimensions, and whether air sealing is included or separate. We’ve reviewed competitor quotes in San Marcos that listed “radiant barrier” as a line item with no product specification - that’s not a real scope. Our written prices name the material, the coverage area, and every preparatory step. Estimates are free and carry no obligation. Call (737) 337-8049 to schedule yours.
Radiant Barrier Installation Near San Marcos - Our Service Area
We complete radiant barrier installations throughout San Marcos and surrounding Hill Country communities with typical drive times under 45 minutes. Our crews work regularly in Redwood, where the combination of exposed limestone hills and afternoon sun creates intense attic heat loads, and Kyle, where rapid residential growth has produced many homes with builder-grade attic packages that benefit significantly from radiant barrier retrofit. We also serve Lockhart, Buda, Shady Hollow, Lost Creek, Austin, Hornsby Bend, Lakeway, Lago Vista, and Bastrop. Response time for assessments in San Marcos proper is typically same-day or next-day; outlying areas schedule within 48 hours. Every visit includes a written price before we leave and a documented photo record of what we found.
Serving San Marcos, TX - Our Local Coverage Area
We’re based in the San Marcos area and know this community well. Use the map below to see our service coverage - if you’re nearby, we can almost certainly help.
Frequently Asked Questions - Radiant Barrier Installation in San Marcos
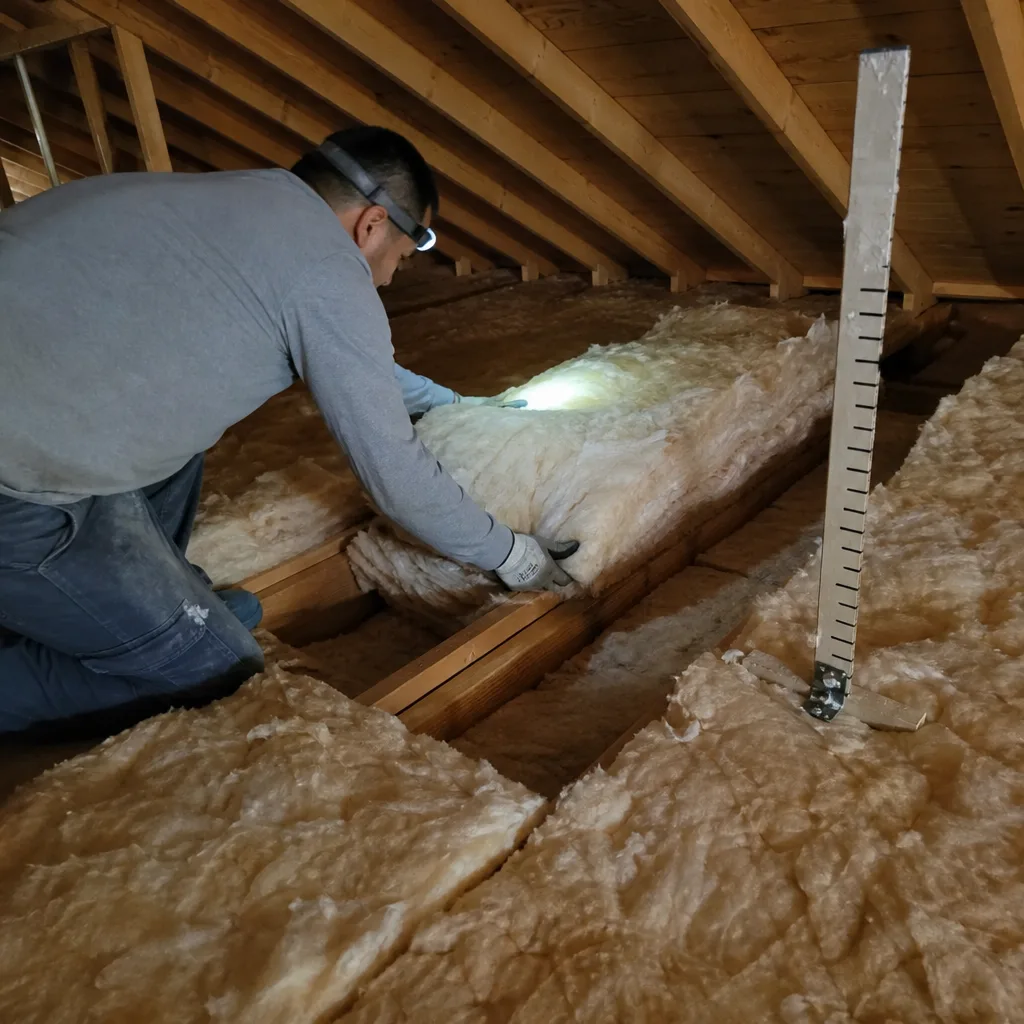
Radiant barrier installation is the process of placing reflective material in your attic to block radiant heat transfer from the roof deck to the living space below. Unlike insulation, which slows heat movement through materials, a radiant barrier reflects heat back toward its source - primarily the sun-heated roof. In San Marcos’s climate, this can reduce attic temperatures by 20-35°F and lower cooling costs by 5-15% depending on your home’s construction and ductwork location.
Most residential radiant barrier installations in San Marcos are completed in one working day, typically 4-6 hours for a standard single-story home with good attic access. Two-story homes, complex rooflines with multiple dormers, or jobs requiring extensive air sealing beforehand may extend to a second day. We schedule start times between 7:00 and 8:00 AM to complete attic work before peak afternoon temperatures.
Attic floor radiant barrier installation in San Marcos typically runs $1,200-$2,400 for homes under 2,000 square feet, while roof deck applications range from $1,800-$3,200. Combined barrier and ventilation upgrades fall between $2,400-$3,800. Your exact price depends on attic accessibility, roof pitch, existing conditions, and whether air sealing is needed first. Call (737) 337-8049 for a free written estimate with no obligation.
Yes, we install and service radiant barrier products from all four manufacturers and can source materials from Owens Corning, Icynene, Demilec, and GreenFiber as well. Our crews are trained on each brand’s specific installation requirements and warranty conditions. We don’t claim exclusive status with any manufacturer, so our recommendation is based on your attic’s conditions rather than inventory incentives.
We don’t treat radiant barrier as an emergency service - it’s a planned efficiency upgrade, not a safety-critical repair. That said, we understand that extreme heat events can make attic conditions unbearable and accelerate decisions. A live person answers our phones 24/7, and we maintain same-day and next-day assessment availability throughout San Marcos when you call (737) 337-8049. If your situation involves active roof leaks or electrical hazards in the attic, we’ll coordinate with appropriate trades before proceeding.
All radiant barrier installation is covered by our 365-Day Done Right Promise - if it’s not done right, we make it right. This is backed by a written scope and written warranty delivered before any work begins, per Haven Standard requirements. Manufacturer warranties on the barrier material itself vary by brand and range from 10 years to limited lifetime; we register these on your behalf and include documentation in your completion packet.
Clear a path to your attic access and remove any stored items you need from the attic space before our arrival - we need full floor access for safe installation. Ensure pets are secured away from work areas. We don’t need you to clear the entire attic; our crew will move and protect items in the work zone. After installation, avoid walking on radiant barrier material where it’s installed on the attic floor, as foot traffic reduces reflectivity over time. Your photo record shows exactly which areas are walkable and which are not.
Schedule Your Radiant Barrier Installation Service in San Marcos Today
Call (737) 337-8049 to schedule your free attic assessment. A live person will answer, day or night, and we’ll typically have a technician to your San Marcos home same day or next day. You’ll receive a written price before any work is scheduled, a documented photo record when the job is done, and the backing of our 365-Day Done Right Promise. No voicemail loops. No callback windows measured in business days. Just a straightforward process that starts with evidence and ends with a cooler attic and lower cooling bills.
Written by Wes Okafor, Owner at Topside Attic Insulation San Marcos, serving San Marcos, Redwood, Radiant Barrier Installation in Kyle, and surrounding Hill Country communities since 2016.