
Last updated September 24, 2026
Attic Insulation Maintenance Checklist for San Marcos Homeowners
A disconnected flex-duct joint in an attic that reads 150°F is pumping conditioned air directly into unconditioned space. A single 4-inch gap can add $40-$80 per month to a cooling bill in a San Marcos summer, yet it’s invisible from the living space below. Most attic insulation in San Marcos doesn’t fail all at once. It degrades through a predictable sequence: pest intrusion, moisture at the ridge, HVAC duct disconnection, and settling. This checklist is organized by those failure modes, not by season, so you can catch problems years before your energy bills spike.
Quick Answer
San Marcos homeowners should inspect attic insulation twice yearly for four specific failure modes: pest damage, moisture intrusion at the ridge, disconnected HVAC flex ducts, and settled depth below R-30 effective. Use a calibrated insulation ruler at minimum 12 measurement points across a 1,500 sq ft attic floor, check flex-duct connections at the plenum and each boot, and verify soffit-to-ridge airflow with a smoke pencil or thin ribbon. Call a professional when settled depth drops below R-30, blower-door readings exceed 7.0 ACH50, or you see daylight through any top-plate penetration.
Table of Contents
- How to Check Insulation Depth and R-Value in San Marcos
- Spotting Pest Damage Before It Spreads
- Moisture Intrusion at the Ridge: What San Marcos Humidity Does
- Inspecting Flex-Duct Connections Without a Ladder Extension
- The Ridge-to-Soffit Airflow Test
- Numeric Thresholds That Trigger Professional Re-Evaluation
- A Realistic Maintenance Schedule for San Marcos Homes
- Common Mistakes to Avoid
- When to Call a Professional
- Frequently Asked Questions
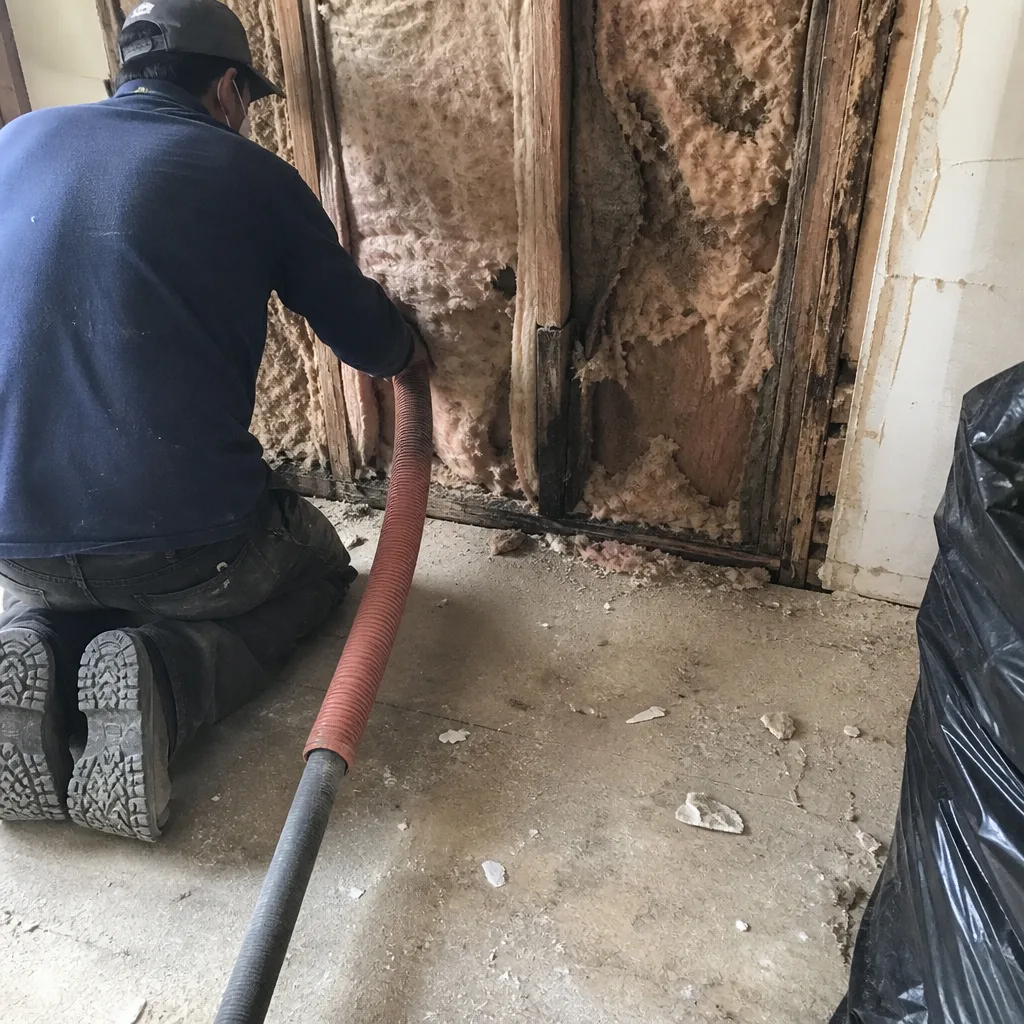 Before
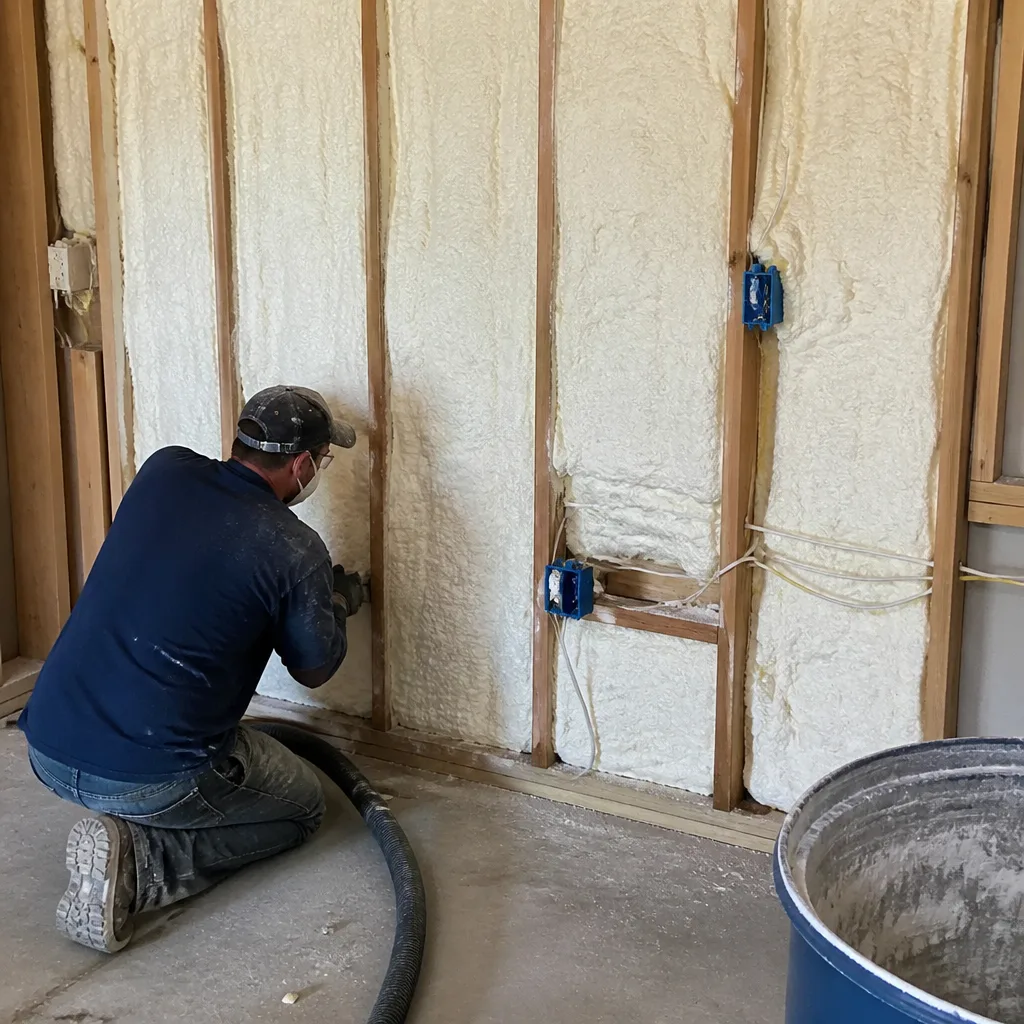 After
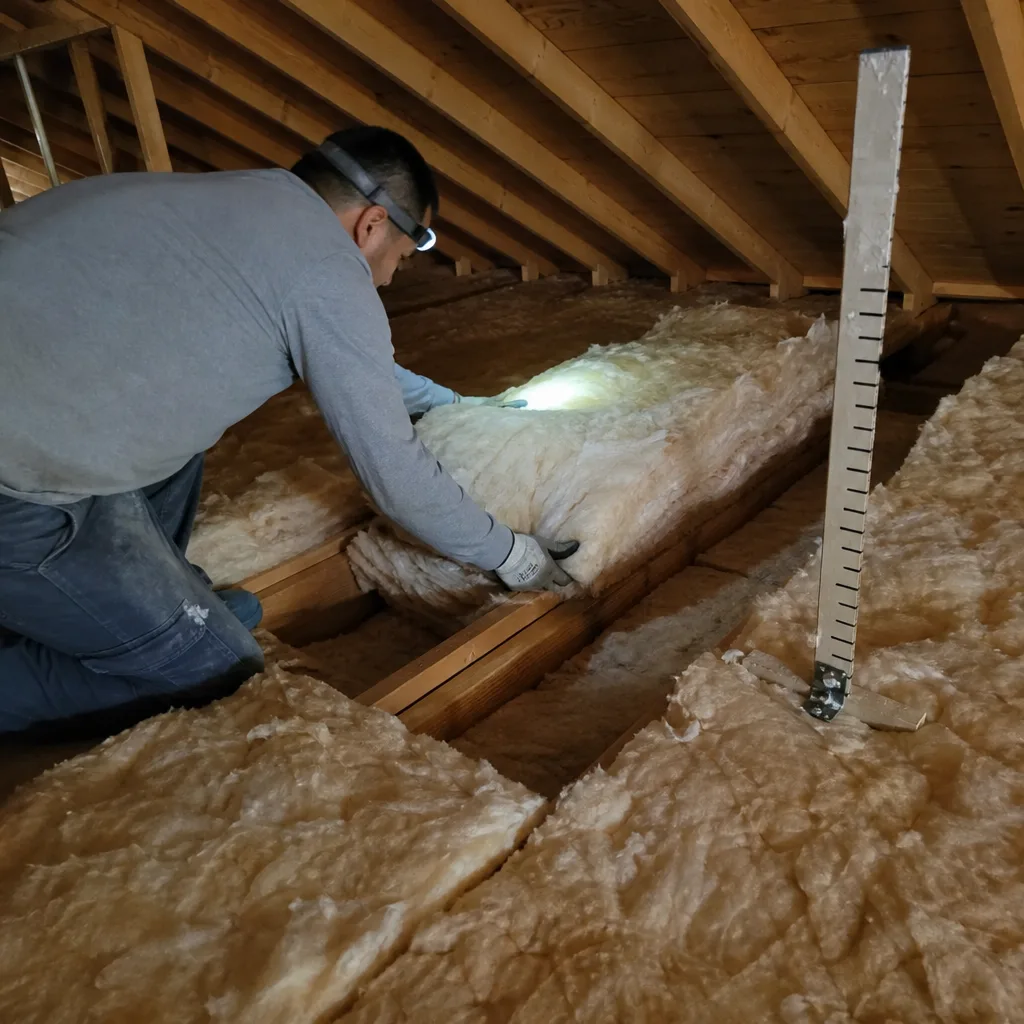
AfterHow to Check Insulation Depth and R-Value in San Marcos
Most San Marcos homes built between 1980 and 2010 were originally insulated to R-19 or R-22. Current Texas energy code calls for R-38 to R-49 in attics, but what’s on the ground matters less than what’s still performing. Settling, compression from foot traffic, and moisture matting can drop effective R-value below R-30 even when the original install looked generous.
Here’s the protocol we use on every Attic Insulation in San Marcos assessment. You can replicate the measurement portion yourself.
Tools You’ll Need
- Calibrated insulation ruler - a rigid, marked probe designed for loose-fill, not a flexible tape measure that compresses the material
- Camera or phone for documentation
- Permanent marker and masking tape to mark compromised zones
The Measurement Grid
For a 1,500 sq ft attic floor, take 12 measurements minimum. Space them in a grid: four along the center ridge line, four at mid-span between ridge and eave, and four within 3 feet of the eave. In San Marcos’s Hill Country subdivisions like Willow Creek or Blanco Vista, many attics have irregular framing or bonus-room drops that create dead zones. Add two measurements for each significant framing interruption.
- Insert the ruler vertically until it hits the drywall or subfloor. Do not compress the insulation.
- Read the depth at the top of the loose-fill layer, not the highest fluff point.
- Record each reading with its location (e.g., “NE corner, 2 ft from eave”).
- Calculate the average. For fiberglass loose-fill, divide depth in inches by the settled density factor: approximately 0.5 to 0.6 R per inch for settled blown fiberglass. For cellulose, use 3.2 to 3.8 R per inch.
Example: 10 inches of settled fiberglass at 0.55 R per inch equals R-5.5 effective. That’s below R-30 and warrants attention.
We document this same grid on every job, and we provide the readings to the homeowner in writing before proposing any work. Under Haven Standard Clause 1, you get a written price before any work starts, and that price is based on actual measurements, not square-footage guessing.
Spotting Pest Damage Before It Spreads
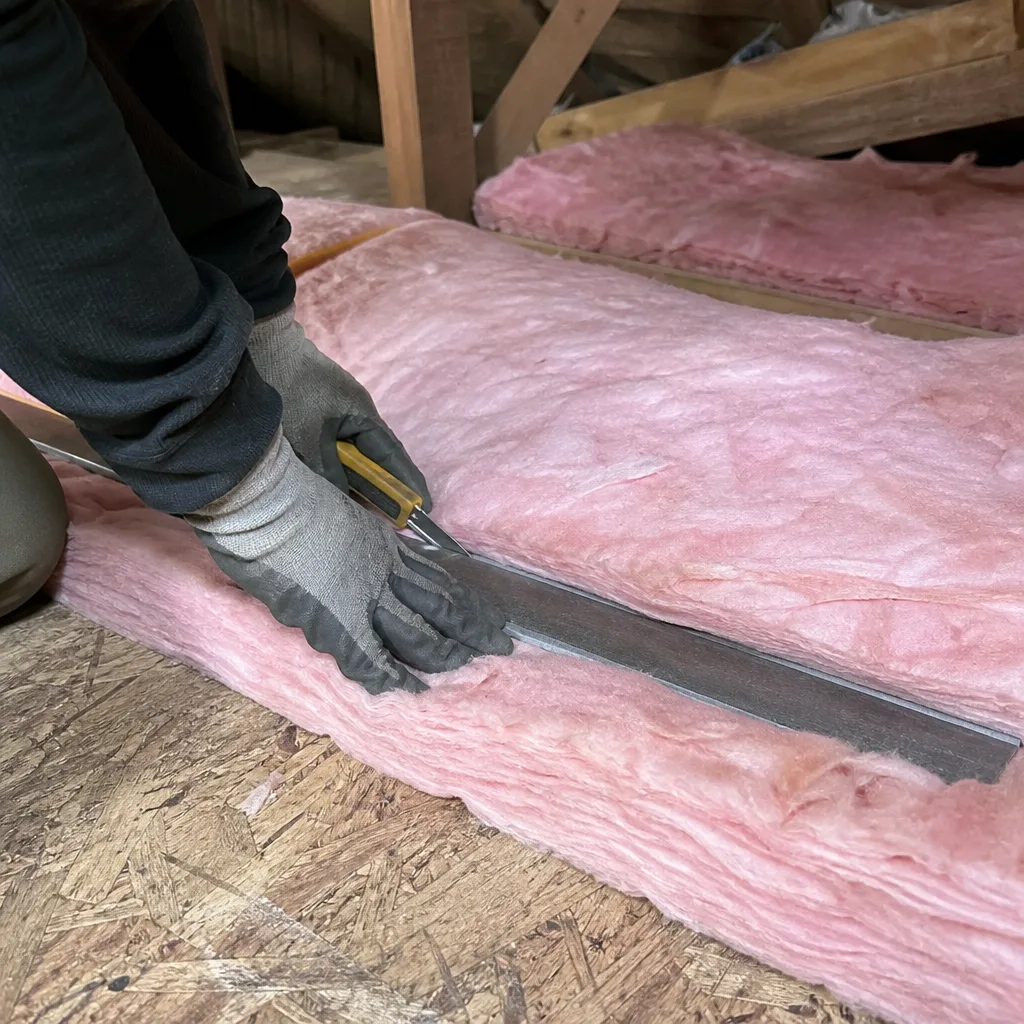
San Marcos sits at the intersection of three ecosystems: Blackland Prairie, Edwards Plateau, and Post Oak Savannah. That biodiversity extends into attics. We’ve found roof rat colonies in homes off McCarty Lane, raccoon latrines in Timberwood Park attics, and bat guano accumulations in older neighborhoods near the university. Each leaves distinct signatures in insulation.
The Four Visual Indicators
Learn these in sequence. Document each with photos before calling any remediation contractor. The order matters because pest control, insulation removal, and reinstallation must happen in sequence, and each trade needs to see what preceded them.
- Matting: Insulation compressed into distinct pathways, often 3-6 inches wide, running parallel to joists or toward a heat source. Rodents prefer fiberglass for nesting material and will tunnel through it, compressing surrounding material and destroying its loft. The R-value in matted zones drops by 40-60 percent.
- Trail channels: Smooth-walled tunnels visible when you part the insulation with a gloved hand. These are active runways. Fresh channels have clean edges and no debris. Abandoned channels accumulate dust and may show spider webs. Active channels mean the pest is still present; don’t seal or reinsulate until the animal is excluded.
- Moisture staining at entry points: Look where roof planes meet, at vent pipe penetrations, and at gable-end vents. Rodents and bats enter through gaps as small as 3/4 inch. Their body oils and urine create dark stains on insulation and framing. In San Marcos’s humid springs, these stains can trigger mold within 6-8 weeks if ventilation is marginal.
- Frass: Insect excrement, often granular and concentrated near soffits or ridge vents. Powderpost beetles and carpenter ants leave distinct piles. Frass means the structural wood is being compromised, not just the insulation.
Document each finding with photos, note the compass direction and distance from the attic access, and mark the spot with masking tape. A remediation contractor needs this sequence to quote accurately. We’ve seen homeowners pay for insulation removal twice because they called the wrong trade first.
Our crews are trained to flag pest damage during every assessment. If we find it, we stop and document before continuing. The Topside Attic Insulation San Marcos home process includes a full photo record, and pest findings are always included so you have evidence for your pest control contractor.
Moisture Intrusion at the Ridge: What San Marcos Humidity Does
San Marcos averages 65-70 percent relative humidity from May through October. That moisture loads into attic air every time a breeze moves through. The ridge is the highest-stress zone because it’s where warm, moist air contacts the coolest surface - the underside of ridge sheathing at night. When insulation is compromised or ventilation is blocked, that moisture condenses.
What to Look For
- Dark streaking on the underside of plywood or OSB ridge sheathing, running parallel to the ridge line
- Insulation directly below the ridge that appears darker than surrounding material, especially if it clumps rather than flows
- Nail shanks protruding through sheathing that show rust staining - a sign of chronic moisture cycling
- Delaminated OSB at the ridge, visible as bubbled or separated surface layers
The critical distinction: moisture at the ridge is almost always a ventilation problem, not a roof leak. A roof leak typically shows as a discrete wet spot, often circular, with a clear drip path. Ridge moisture is diffuse, follows the full ridge length, and worsens on humid nights with no wind.
In neighborhoods like Redwood and Victory Gardens, we’ve seen attics with adequate insulation depth but failed ridge ventilation due to compressed or missing ridge vent foam. The fix is not more insulation. It’s restoring airflow at the ridge and often adding baffles to prevent blown insulation from migrating upward.
We publish before-and-after blower-door numbers on every applicable job so homeowners can verify that air-sealing work actually reduced the moisture-driving pressure. A blower-door test - a pressurization reading that shows, in one number, how much air your building envelope is losing - typically reads 6-10 ACH50 in a 1990s San Marcos home before work and 3-5 ACH50 after proper sealing and insulation.
Inspecting Flex-Duct Connections Without a Ladder Extension
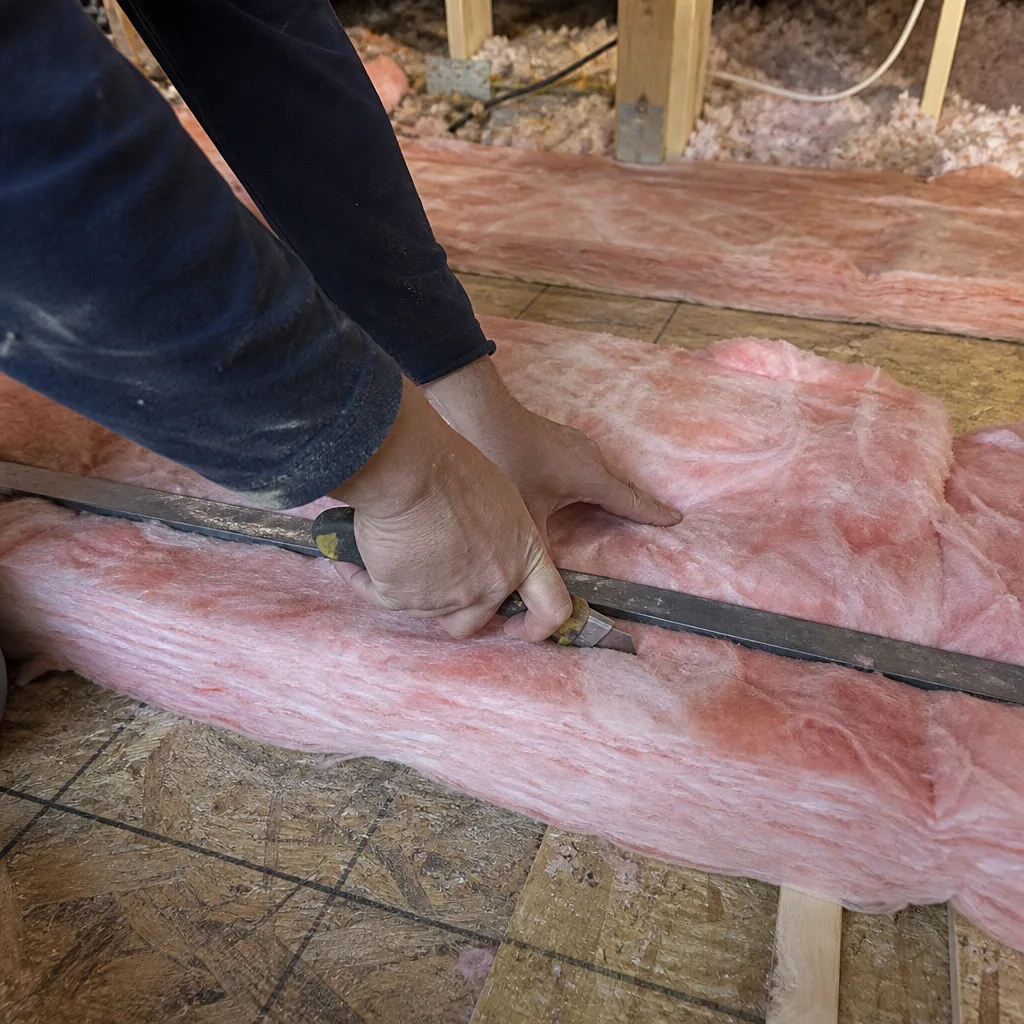
This is the failure mode that costs the most and shows the least. Flex duct - the insulated flexible tubing that connects your air handler to each room’s supply boot - degrades in San Marcos attics through thermal cycling. Daily swings from 75°F conditioned air to 140°F attic air harden the vinyl outer layer. After 8-12 years, the inner liner separates from the insulation blanket, and the connection collars loosen.
The Two Joints That Fail Most
You don’t need to crawl to the far eaves. The two highest-failure joints are accessible from the attic access with a standard ladder.
- The plenum connection: Where the flex duct meets the air handler’s sheet-metal plenum. This joint sees the highest pressure and temperature differential. Look for:
- Gaps between the metal collar and the flex duct inner liner
- Tape that has turned brittle, yellowed, or detached
- Insulation blanket that has slid down, exposing the inner liner to attic air
- The boot connection: Where flex duct terminates at the ceiling boot above each room. These fail because the boot is cooler than surrounding attic air, causing condensation that weakens tape adhesive. Look for:
- Insulation pulled back from the boot collar
- Visible gaps where light from the room below shows through
- Dust streaks on the boot or surrounding joist - evidence of air leakage pulling attic dust through the gap
A 4-inch gap at either joint, blowing 55°F conditioned air into a 140°F attic, can waste 15-25 percent of that duct run’s capacity. In San Marcos’s cooling-dominated climate, that’s $40-$80 per month for a single leak, verified by our measurements across hundreds of homes.
Don’t attempt to reseal these yourself with duct tape from a hardware store. Proper repair requires UL-181 rated foil tape or mastic, and often replacement of degraded flex sections. We include duct integrity checks in every attic assessment and document findings with photos.
The Ridge-to-Soffit Airflow Test
Attic ventilation in San Marcos must work harder than in drier climates. The goal is continuous airflow from soffit intake at the eave to ridge exhaust at the peak, carrying moisture out before it condenses. Blown insulation, especially cellulose products like GreenFiber or fiberglass from Johns Manville, can migrate into soffit vents over time. When intake is blocked, the ridge vent becomes a passive leak point rather than an exhaust path, and moisture accumulates.
How to Test Without Specialized Equipment
- Visual inspection from inside: At the attic access, look along the eave line with a flashlight. Baffles - the cardboard or foam channels that keep insulation back from soffit vents - should be visible as vertical barriers between joists. If you see insulation piled against the eave or daylight blocked, the baffle has failed or was never installed.
- The smoke pencil or ribbon test: On a day with light wind, hold a smoke pencil or light ribbon near the soffit vent from inside the attic. Inward airflow should draw the smoke or ribbon toward the vent. No movement means blockage. Outward movement means the vent is acting as exhaust - a sign of reversed pressure from a blocked ridge or powered ventilator conflict.
- Ridge vent inspection: From the attic, daylight should be visible along the full ridge length through the vent slot. If you see insulation, debris, or wasp nests, airflow is compromised.
In San Marcos’s older neighborhoods near downtown, we’ve found original soffit vents that were painted shut decades ago, with no baffles ever installed. Homeowners added insulation without knowing the ventilation was already defeated. The result: ridge sheathing rot within 5-7 years.
Our crews check baffle integrity on every job and include replacement in the written scope when needed. We source baffles and ventilation products from Owens Corning and other manufacturers - no proprietary lock-in, so you know exactly what you’re getting.
Numeric Thresholds That Trigger Professional Re-Evaluation
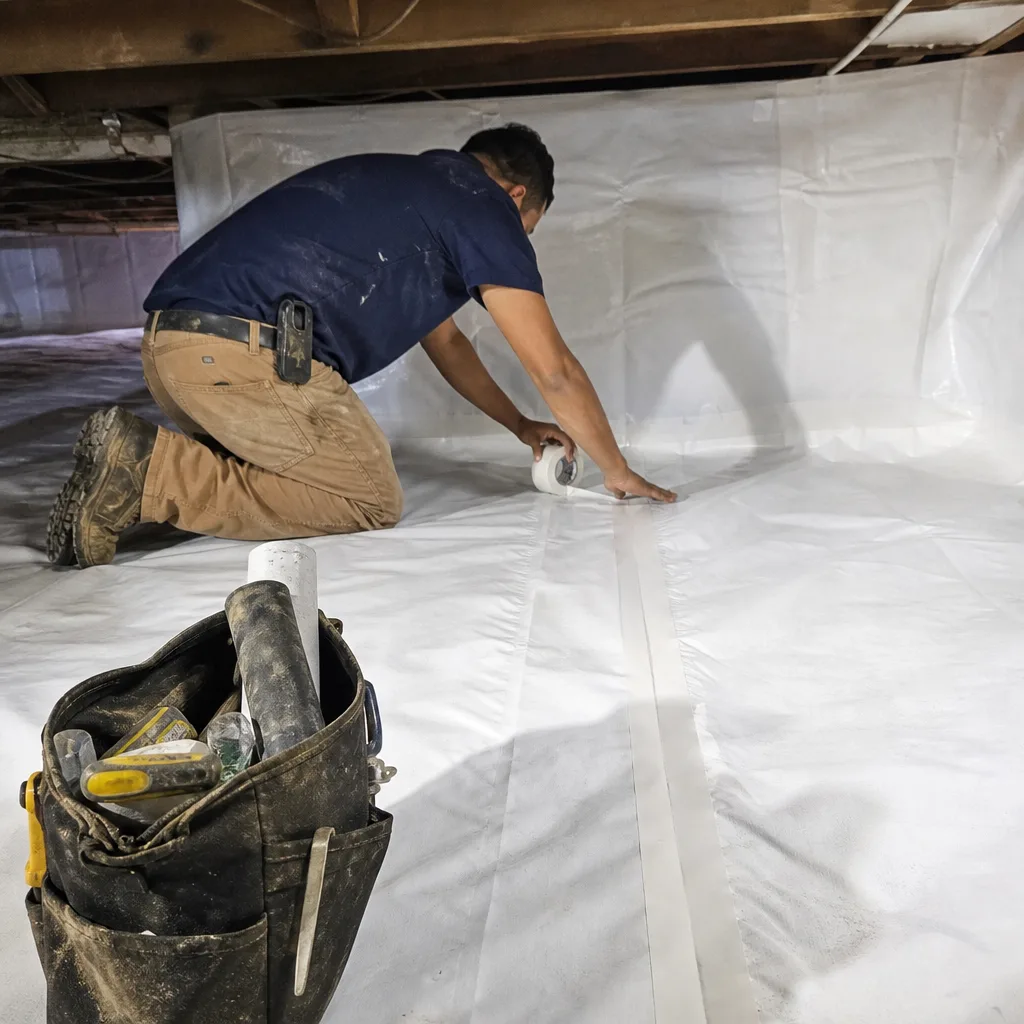
For more guides & resources, home maintenance checklists often feel arbitrary. These numbers are not. They’re derived from Texas energy code, manufacturer warranty requirements, and our field data from 9,000+ homes sealed and insulated since 2016.
| Measurement | Threshold | What It Means |
|---|---|---|
| Settled insulation depth | Below R-30 effective | Performance degraded; most San Marcos homes at this level are running 25-40 percent higher cooling load than designed |
| Blower-door test (ACH50) | Above 7.0 | Excessive air leakage; likely multiple bypasses at top plates, can lights, or duct penetrations |
| Visible daylight at top plates | Any penetration | Direct thermal bypass; each 1-inch gap equals roughly 10-15 sq in of missing wall insulation |
| Flex-duct leakage | Gap > 1 inch at any joint | Conditioned air loss into attic; immediate energy and humidity impact |
| Ridge sheathing moisture content | Above 19 percent (pin meter) | Active condensation cycle; risk of mold and structural degradation within 2-3 years |
| Soffit vent blockage | More than 25 percent of vents occluded | Ventilation failure; insulation performance degrades and moisture risk rises |
When we assess a San Marcos home, we measure against these thresholds and provide the numbers in writing. No work starts without a written price, and that price is tied to specific findings, not square-footage estimates.
A Realistic Maintenance Schedule for San Marcos Homes
San Marcos’s climate demands a biannual rhythm: pre-summer and pre-winter. The specific tasks shift based on your home’s age and insulation type.
March-April: Pre-Summer Inspection
- Check insulation depth at 12+ points; calculate effective R-value
- Inspect ridge sheathing for moisture staining from winter humidity
- Test soffit-to-ridge airflow with smoke pencil
- Photograph any pest damage; mark locations
- Run HVAC and check plenum connections for air leaks (feel with bare hand - conditioned air is noticeably cooler)
October-November: Pre-Winter Inspection
- Recheck depth measurements at same points; note settling since spring
- Inspect flex-duct boots for tape degradation from summer heat
- Verify baffle integrity after any wind events (San Marcos sees 40+ mph gusts in fall)
- Check attic access hatch seal - a common bypass that negates insulation performance
- Document findings; compare to spring photos
Homes in wind-exposed areas like the hills above Wonder World Drive or near the interstate corridor may need quarterly checks for baffle and ridge vent integrity. We’ve replaced baffles in those neighborhoods after single storm events.
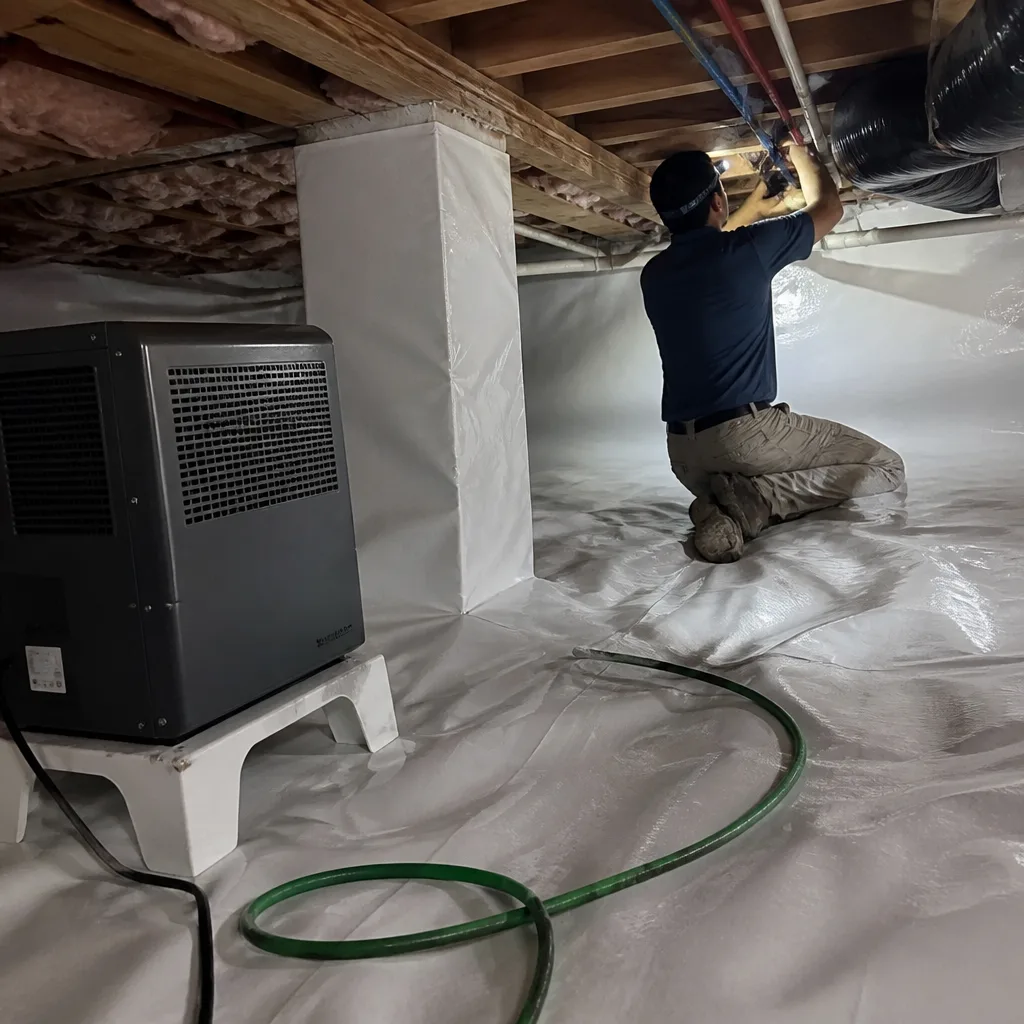
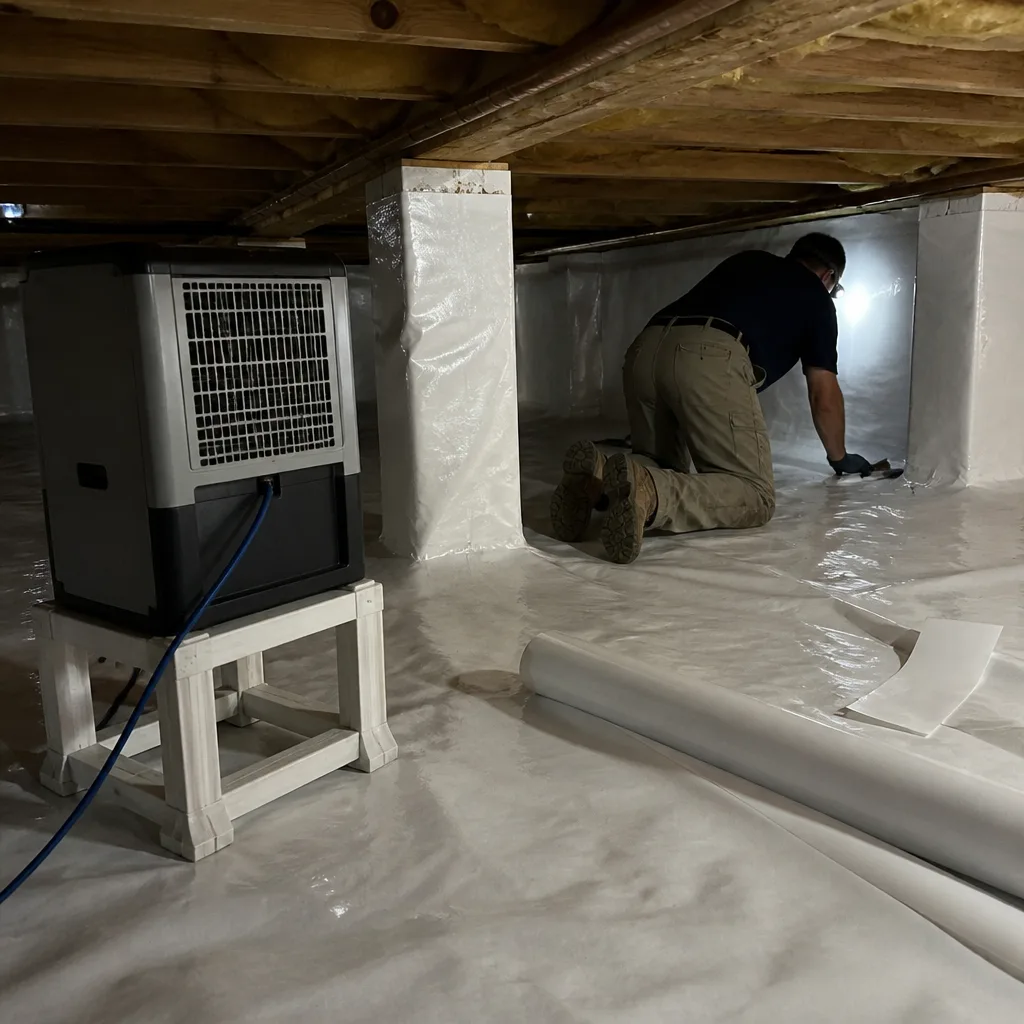
For homes with Crawl Space Encapsulation & Vapor Barrier in San Marcos, coordinate attic and crawl space inspections. Moisture problems in one zone often signal pressure imbalances that affect the other. We offer combined assessments with a single written scope covering both.
Common Mistakes to Avoid
- Adding insulation over unsealed air leaks: Blown fiberglass or cellulose over a leaky attic floor is a filter, not a seal. Conditioned air passes through, depositing dust and creating black streaks that homeowners mistake for mold. Seal first, then insulate - in that order. We will never blow insulation over an unsealed attic floor.
- Using a tape measure instead of an insulation ruler: A tape measure compresses loose-fill and reads 20-30 percent shallow. Calibrated rulers cost $8 and last decades.
- Ignoring the access hatch: A 1/2-inch gap around a standard attic pull-down stair equals roughly 2 sq ft of missing R-value. Weatherstrip the hatch and add an insulated cover box if the stair sits above conditioned space.
- Blocking soffit vents with insulation during a DIY top-off: This is the most common self-inflicted ventilation failure we see in San Marcos. Baffles are required by code for a reason.
- Calling insulation contractors before pest remediation: New insulation installed over active pest colonies becomes contaminated within weeks. The correct sequence: exclusion, remediation, then insulation.
- Trusting visual depth alone: Insulation can look full while being compressed by foot traffic, storage boards, or old wiring. Measure, don’t guess.
- Neglecting duct integrity in favor of insulation depth: A perfectly insulated attic with leaking ducts performs worse than a thinly insulated attic with tight ducts. Check both.
When to Call a Professional
Call for assessment when any threshold is breached, when you find active pest channels, or when your summer cooling bills rise 15 percent year-over-year with no rate increase. San Marcos’s municipal utility, CPS Energy in some areas and San Marcos Electric in others, provides usage histories that make this comparison straightforward.
Topside Attic Insulation San Marcos offers free estimates in San Marcos - call (737) 337-8049. Every estimate includes a written scope, a written price before any work starts, and a Documented Photo Record of findings. On applicable jobs, we provide before-and-after blower-door numbers so you can verify the performance change. The 365-Day Done Right Promise applies to all completed work.
Frequently Asked Questions
Professional inspection and assessment typically runs $150-$300, though many contractors including Topside Attic Insulation San Marcos apply this to project cost if work proceeds. Re-insulation or air sealing ranges from $1.80-$3.50 per sq ft depending on access difficulty, existing material condition, and whether duct sealing is included. Call (737) 337-8049 for a written price based on your specific attic measurements - estimates are free.
Homeowners can perform depth checks, visual pest inspections, and basic airflow tests safely. We recommend professional assessment for blower-door testing, flex-duct sealing, and any work involving electrical or steep attic access. The danger isn’t the insulation - it’s the 150°F summer attic environment, live electrical, and the risk of stepping through drywall. If you’re uncomfortable or your attic has limited headroom, call us.
Well-installed fiberglass or cellulose in a properly ventilated, pest-free attic lasts 20-30 years. In San Marcos, the practical lifespan is often 12-18 years due to thermal cycling, humidity stress, and higher pest pressure than drier regions. Replacement need is determined by performance measurement, not age alone.
Current Texas energy code specifies R-38 minimum for attic insulation, with R-49 recommended for cooling-dominated climates. Many San Marcos homes perform adequately at R-38 if air sealing is thorough. Higher R-value with poor sealing yields lower real-world performance than moderate R-value with tight construction. We measure both and specify accordingly.
Attic insulation wets from three causes in this market: roof leaks (discrete, often following rain), condensation from inadequate ventilation (diffuse, worse on humid nights), and duct condensation from leaking cool air onto insulation. The pattern of wetting tells you the source. We document the pattern and specify the correct fix - roof repair, ventilation restoration, or duct sealing - rather than replacing insulation that will just wet again.
Spray Foam Insulation in San Marcos requires less frequent inspection but isn’t maintenance-free. Check annually for mechanical damage from tradespeople, delamination at substrate edges from thermal cycling, and proper coverage at eaves and penetrations. Open-cell foam can absorb moisture if the roof leaks, so ridge sheathing inspection remains important. Closed-cell foam is more resistant but costs 2-3x per R-value. We install both types from manufacturers including Demilec and specify based on attic conditions and budget.
The Bottom Line
The Complete Guide to Insulation in San Marcos covers how attic insulation fails through four predictable mechanisms: pest damage, ridge moisture, flex-duct disconnection, and settling below effective R-30. A biannual inspection using a calibrated ruler, visual documentation, and basic airflow tests catches each mode early. The critical discipline is measuring rather than guessing, and sealing air leaks before adding insulation. Homes maintained to these thresholds perform 25-40 percent more efficiently than neglected attics in the same neighborhood, with the documentation to prove it.
Topside Attic Insulation San Marcos has sealed and insulated 9,000+ homes since 2016, every one with a written price before work started and a documented record when the crew left. Call (737) 337-8049 for a free estimate. A live person answers 24/7.
Written by Wes Okafor, Owner at Topside Attic Insulation San Marcos, serving San Marcos since 2016.